A post from Diego Magela Lemos on LinkedIn got me. He used the great work from Prof. Christophe Geuzaine to create a mesh from a picture in Gmsh. I already used Gmsh before to convert meshes and so I could not resist to mesh my own image. And I started thinking about calculating it with FEM.
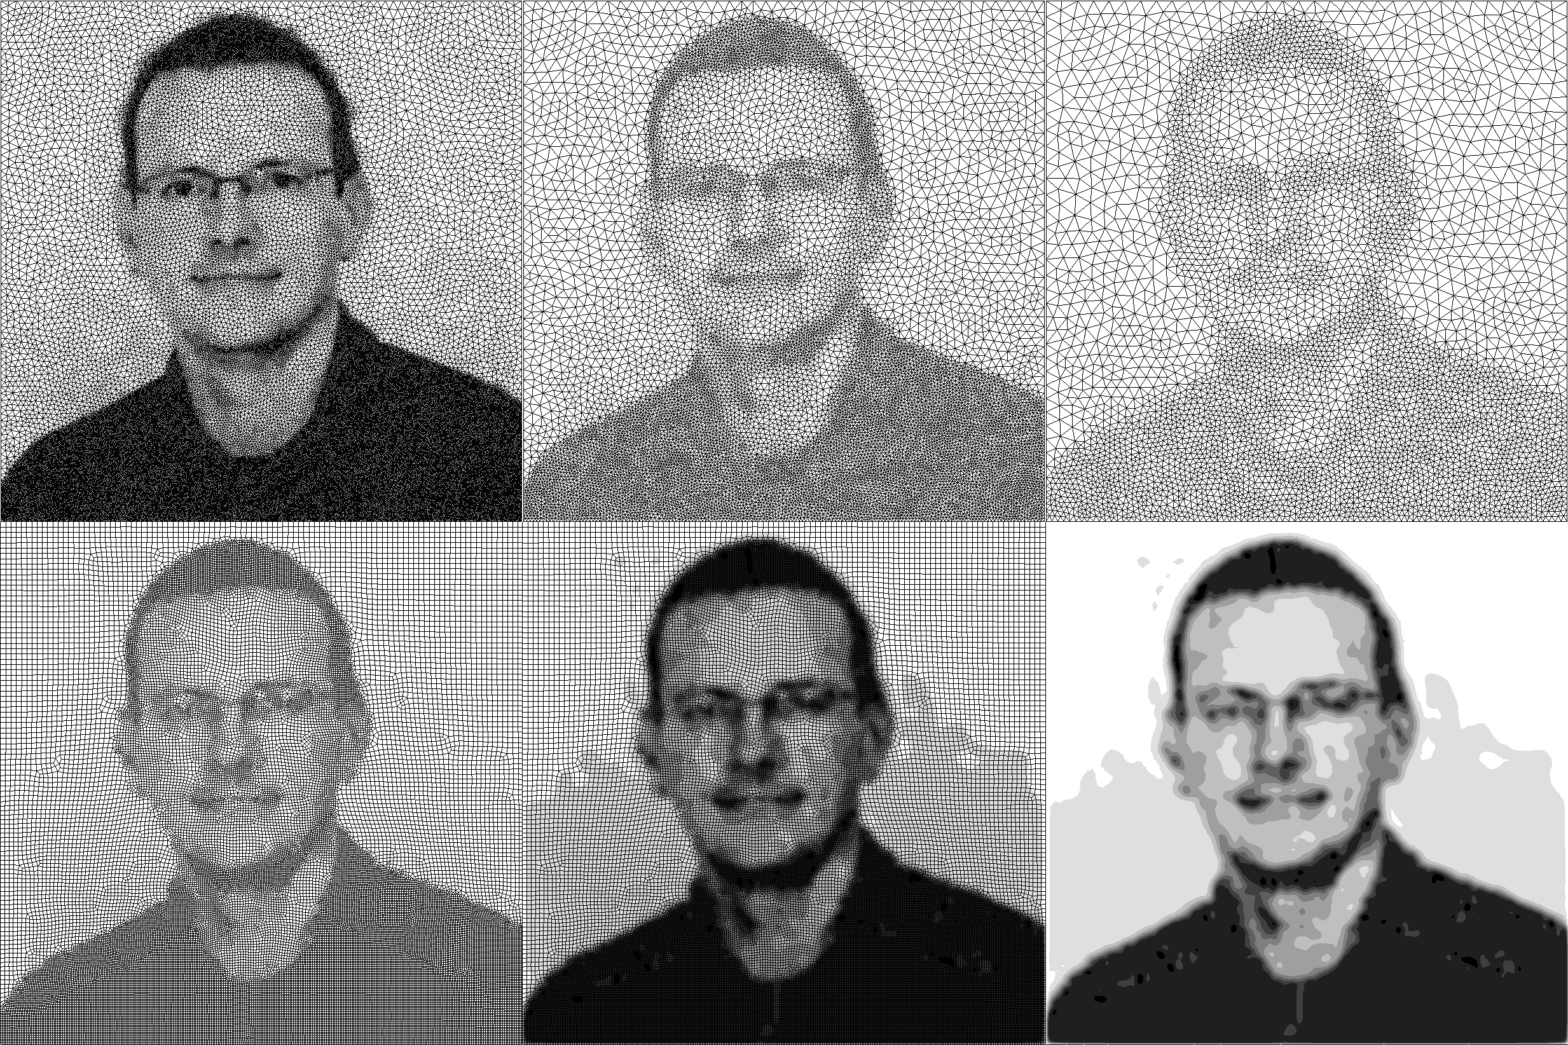
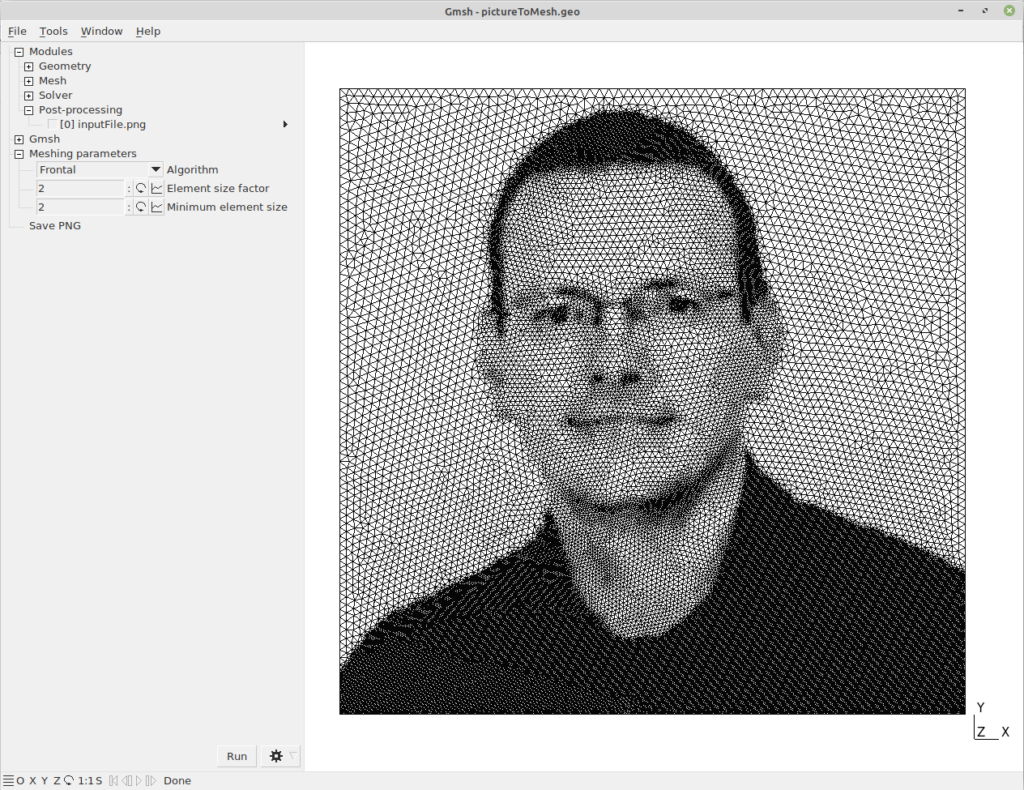
So I downloaded the latest version of Gmsh from the website and followed the description from Diego Magela Lemos Blog. Following figure shows Gmsh with the meshed picture.
In Gmsh you can directly Export a mesh as “Abaqus INP (*.inp)” and that is compatible to Calculix / PrePoMax. In PrePoMax you can directly import the mesh and work directly on the mesh. I tried a quad mesh.

I used a Concentrated Force to add a force on every node. So finer meshed details (dark areas) get more force and coarser areas get lesser force in Z direction. The calculated deformation in Z direction looks like an artwork in PrePoMax.

I have not yet found a way to display and save the results automatically in PrePoMax. So I learned something about CalculiX GraphiX (cgx) to get some plots for a new animation direct from the Calculix frd result file.

I could have somehow calculated a fatigue utilization. But that doesn’t make any sense here. But how much fun can you have with only free and opensource tools.